This Quick Start Guide is designed to help the user to familiarize themselves with the equipment and perform basic setup. For detailed information, please refer to the Setup and Operation Manual.
The ECD SmartDRY™ Cabinet is ready to plug in and begin using as soon as it is safely set up. No additional programming is required. Once unpacked, here are some steps to quickly get your Cabinet up and running.
Although pre-programmed, the Cabinet must run for a minimum of 8 hours to acclimate and regenerate its dryer module. Please allow this time before adding your filiment. Also, the alarm limits have been pre-programmed however, are not enabled. Once the Cabinet has stabilized at set point, the alarms can be enabled if desired. You may also want to explore the other Alarms: SmartDRY™ Temperature, SmartBAKE™ RH, and SmartBAKE™ Temperature, enabling them as you wish. Refer to section 9.1.2 Alarms (SmartDRY™) in the Setup and Operation Manual for detailed information.
|
When accessing options that require a Passcode the system default Passcode is 314. As you enter protected options, you will be prompted to enter it using the Up or Down buttons. Once selected, all locked options remain “unlocked” until you return to the Main Display.
|
.png "Important Information")
.png)
.png)
8.1 Safety and Installation
Make sure you have read and follow the 4.0 Operators Safety Information and 5.0 Setup recommendations in the previous sections.
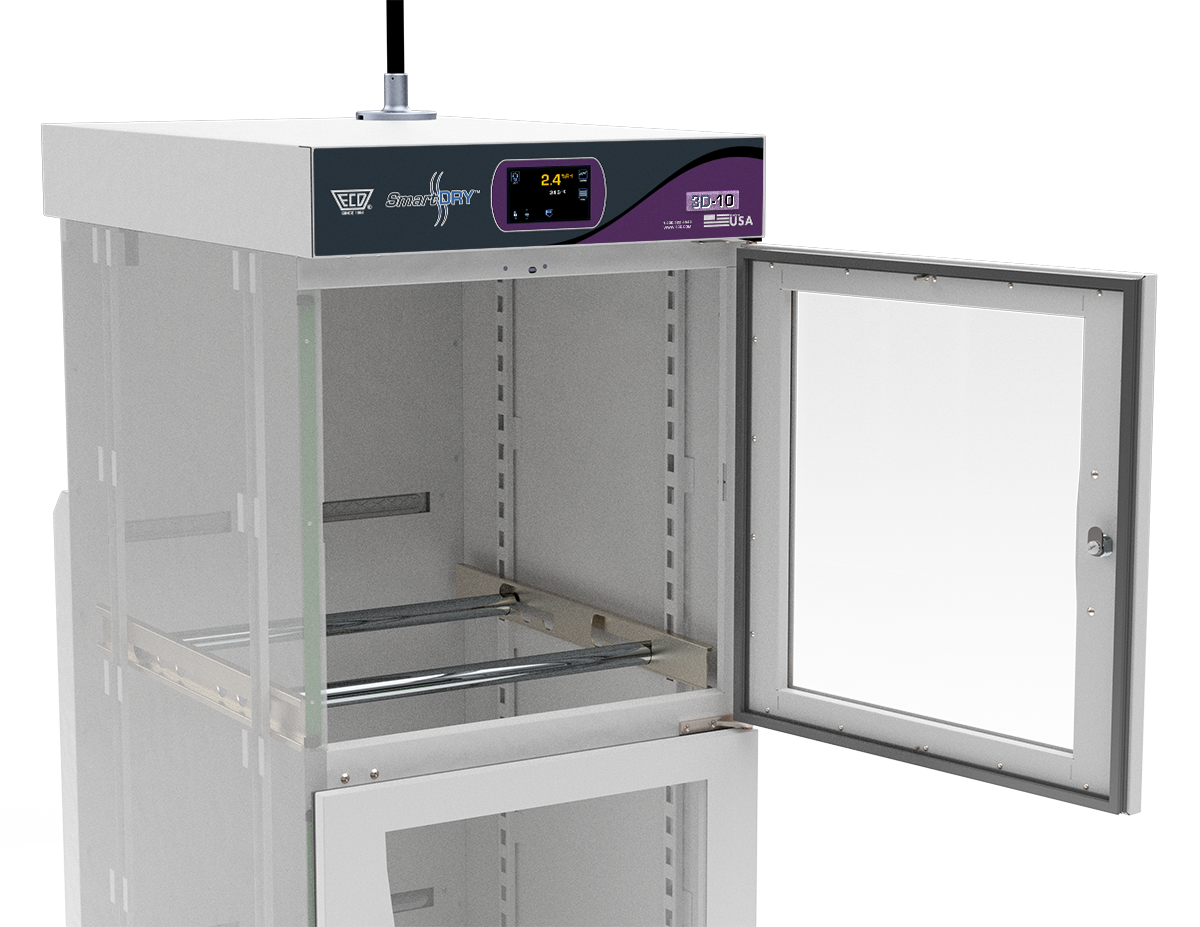
8.2 Location
Move the ECD SmartDRY™ Cabinet into the desired position. Refer to topic 5.2 Location for minimum distance.
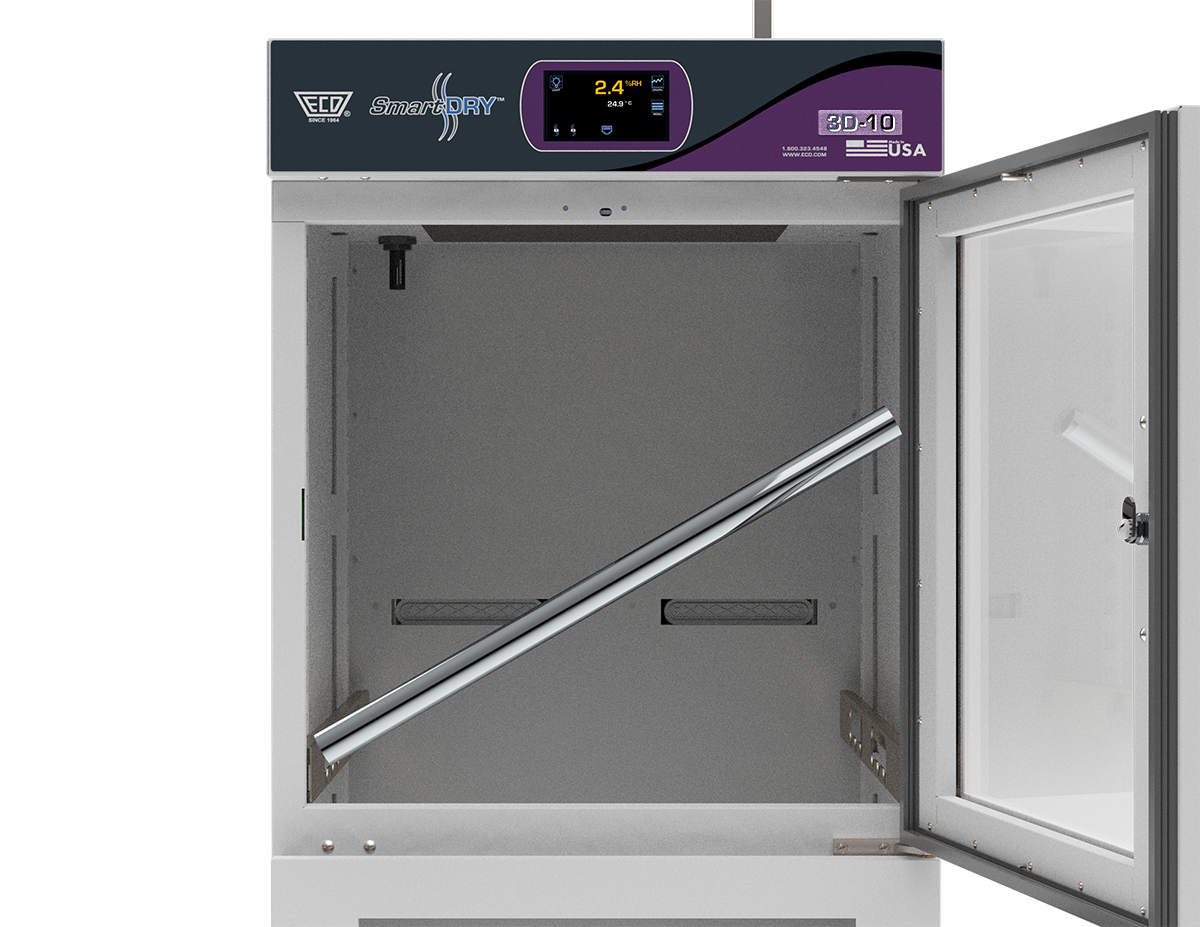
8.3 filiment Reel Rack Configuration
Install the filiment reel racks to meet your storage requirements.
|
|
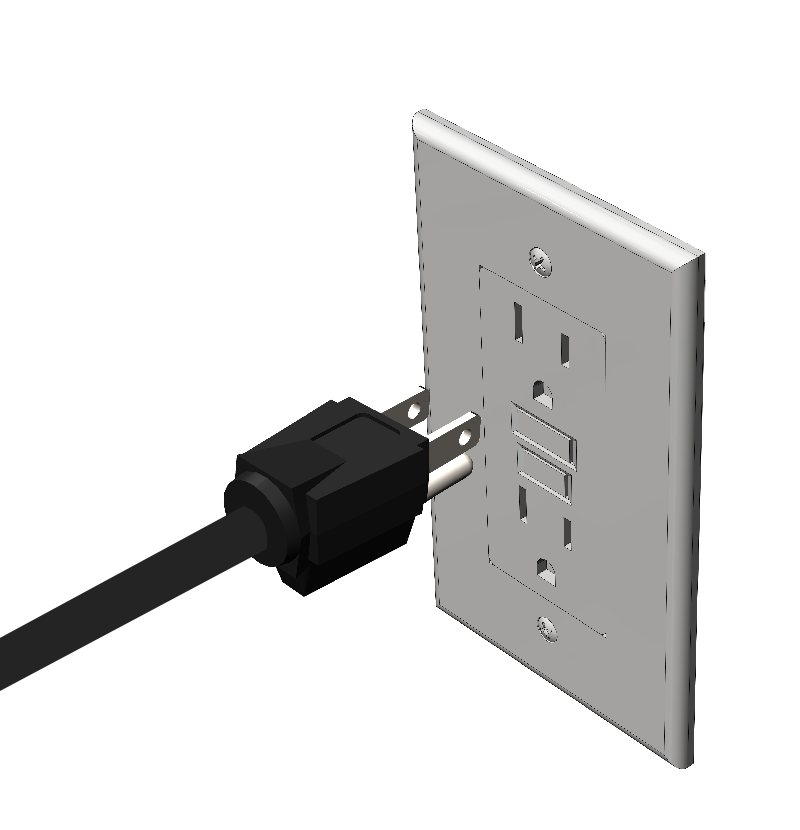
8.4 Power
Connect to properly grounded power plug.
8.5 Time Settings
Set the Real Time Clock and ALL time settings for your location.
To set the Time:
| 1) | From the Main Display, enter the Main menu by pressing the Menu button. enter the Other Settings menu by pressing the Settings button. |
.png)
.png)
| 2) | Enter the Date/Time Settings by pressing the Time button. |
.png)
.png)
| 3) | Edit the desired settings selecting the OK button to accept each edited value. |
.png)
.png)
| 4) | To exit the screen, select the Back button which takes you “Back” to the previous menu. |
8.6 Clear History
Clear the stored memory. Performing this step clears unwanted data and starts logging data new data from this point on.
To clear history:
| 1) | From the Main Display, enter the Main menu by pressing the Menu button. enter the Other Settings menu by pressing the Settings button. |
| 2) | Enter the Data Logging Settings by pressing the button. Press the Clear History button. |
.png)
.png)
| 3) | To exit the screen, select the Back button which takes you “Back” to the previous menu. |